4.3 EMail. Version 1.0. Last updated June 2025
UK-CoWo - 4.3 Emails v0.2 by vanessa
To send an email while in the job, on the ‘Overview page’, click the email icon found on the right side of the quick action’s menu.

Note: When you hover over an item on the quick action’s menu, the name will appear. In this instance, you will see ‘Send Email’.
A blade will open out, and you will see the following view.
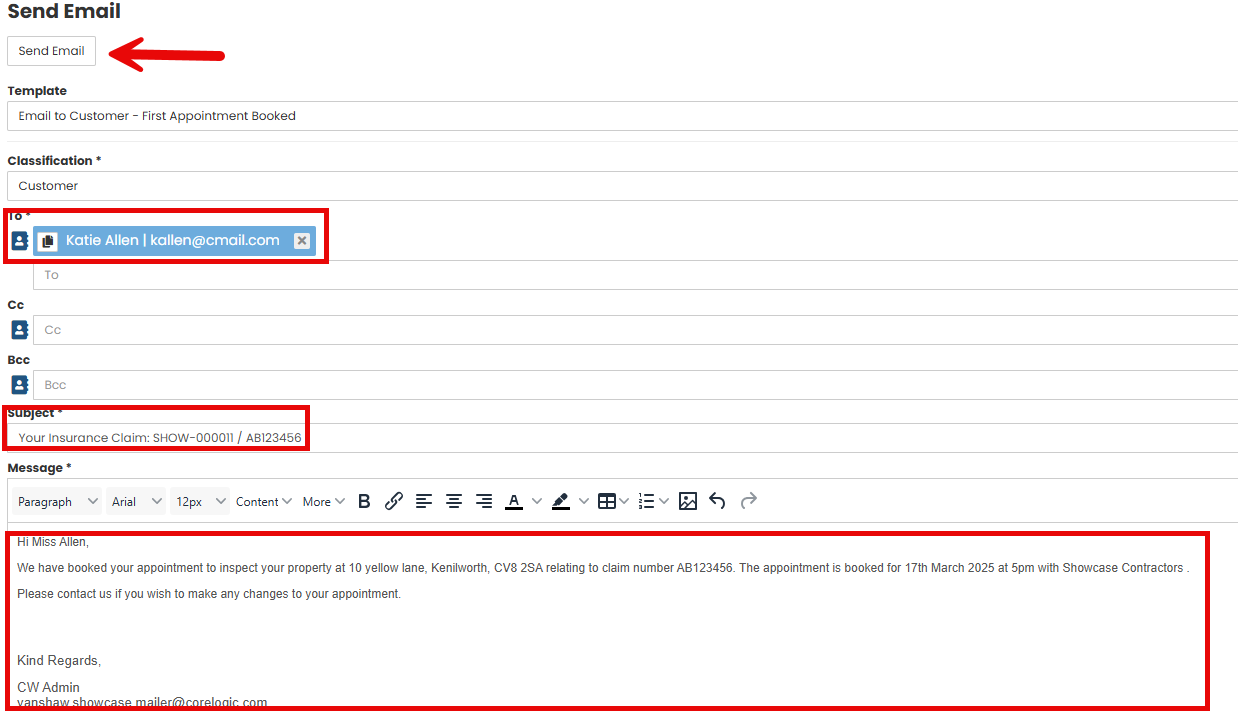
If you company has created email templates, you can select a Template using the drop-down list. The template will automatically prefill the mandatory information, such as the Classification, Email address, Subject and Body of the email.
Alternatively, you can free type text into the body of the e mail
As this email is going to the customer about their first appointment, their information is automatically prefilled from the template.
All you are required to do is fill in the blanks such as time and date of appointment.
To open out the email for a better view, just select the icon in the top right-hand side of the page.
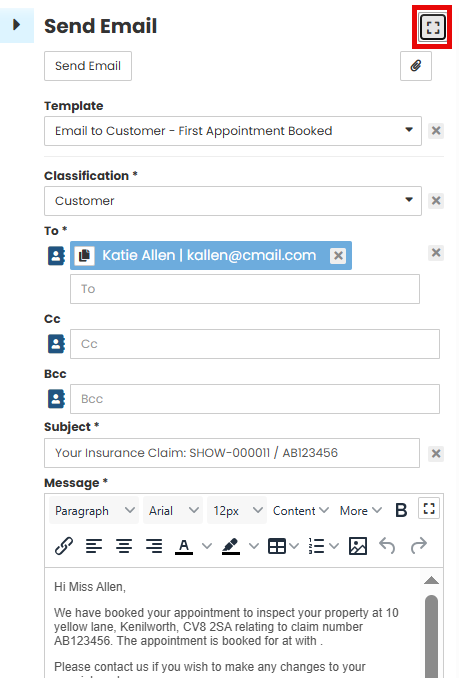
To add any attachments to your emails, just select the paperclip icon at the top of the email blade and they will attach to the body of your email.

Once all information has been reviewed and any additional documents added, select ‘Send email’.
Viewing Sent Emails
To view any emails that have already been sent regarding a job, from the Job menu select ‘History.’ From here you will see all previous emails that have been sent either to the insurer, customer, or third parties.
To view the email, select the ‘Email’ button.

Was this article helpful?
That’s Great!
Thank you for your feedback
Sorry! We couldn't be helpful
Thank you for your feedback
Feedback sent
We appreciate your effort and will try to fix the article