7.4 Booking Appointments Manually. Version 1.0. Last updated July 2025
Booking Appointments Manually
 Open the job you want to book an appointment for, click the Appointment option in the Job Menu on the left-hand side of your screen.
 Click the Book Appointment button in the top right-hand corner of the Appointments page.

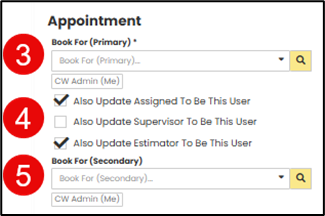
 Fill in who the appointment is being booked for with the Book For (Primary) drop down. Note - there is a quick access button below the drop down with the user’s name who is booking the appointment.
 Use the tick boxes to update the job details with the user being booked on the appointment as the Assigned, Supervisor or Estimator.
 You can book multiple users on one appointment by selecting users in the Book For (Secondary) drop down.
 Select the appointment date
 Enter the appointment start time
 Enter the appointment end time
 Once the Date field has a value entered the users availability will show on the right-hand side of the screen with a calendar, will show any item that has been blocked out in the calendar.

 Select Appointment Status from drop down menu, this should be ‘New’ at the time of booking. Other options here are Completed or Cancelled.
 Select Appointment Type from drop down menu.
 Enter any applicable notes in the Note field. This could be details for site access or what needs to be done while at the appointment.

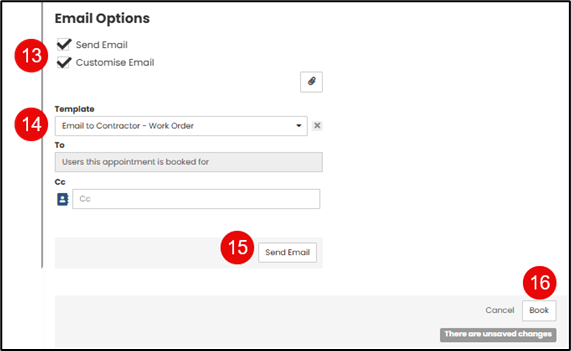
 Email Options are at the bottom of the Appointment form, the system will default to 'Send Email' option ticked which will send the user you are booking the appointment for an email with the details. If you wish to edit the email, select ‘Customise Email.’
 Select applicable Email template from the drop-down menu
 Send Appointment Email to recipient.
 Select Book in the bottom of the appointment screen.
Was this article helpful?
That’s Great!
Thank you for your feedback
Sorry! We couldn't be helpful
Thank you for your feedback
Feedback sent
We appreciate your effort and will try to fix the article