22.14 Workflow Basics. Version 1.0. Last updated October 2025
This article gives a basic overview on creating workflows, and adding in milestones, events, and reminders.
Workflow
1. Go to Admin, then in Jobs Category select Workflows, and click 'Create Workflow'

2. Type in your workflow name/description and Save Details - this will allow you to start editing with the workflow designer.

3. Go back into the workflow you just created - you will now see the designer and the New Claim status as a default starting status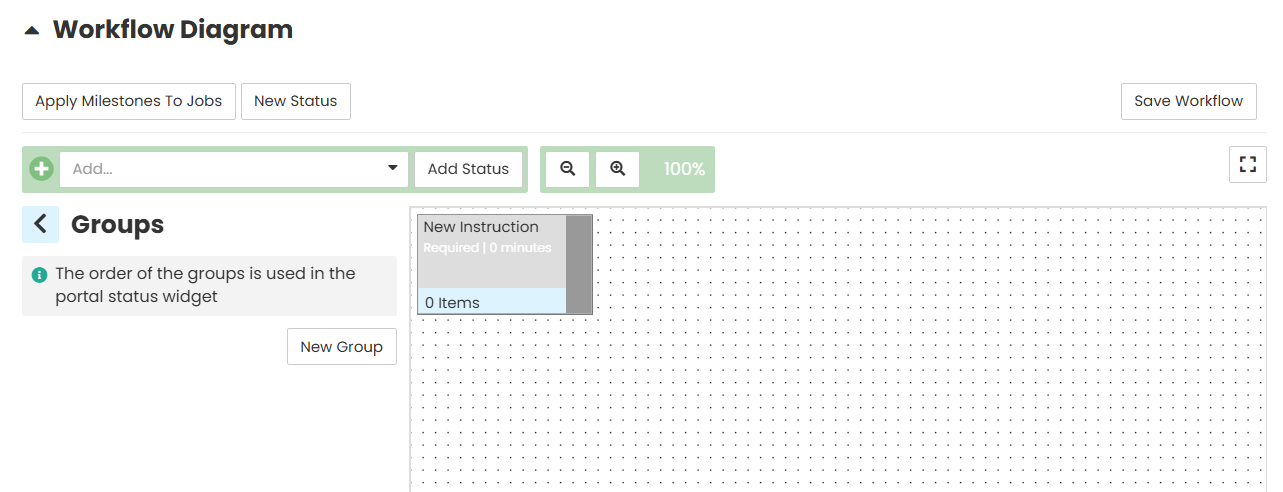
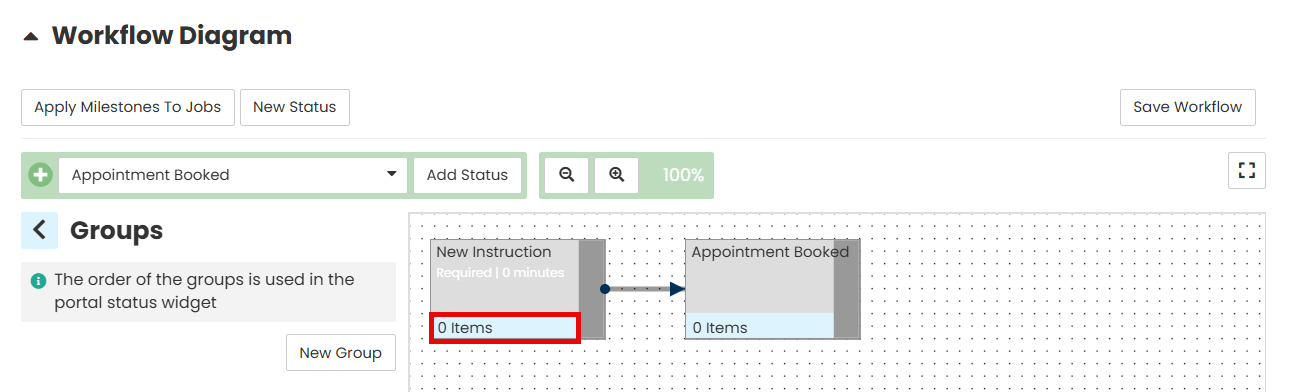
4. To add another status to the workflow select from the dropdown and click 'Add Status'

5. Status block can be moved around by drag-n-drop.

6. To connect statuses together to form a workflow, click and drag from the grey section and drop in the block you want to connect to


Using the above process you can create the workflow to suit your needs.
Adding Actions: Milestones, Events, and Reminder
Actions can be triggered automatically from the workflow. When a job is moved into a status, if it has Milestones, Events, and Reminders they will be created or triggered.
7. To show the Actions of a particular status, click on the 'Actions' label in the block.
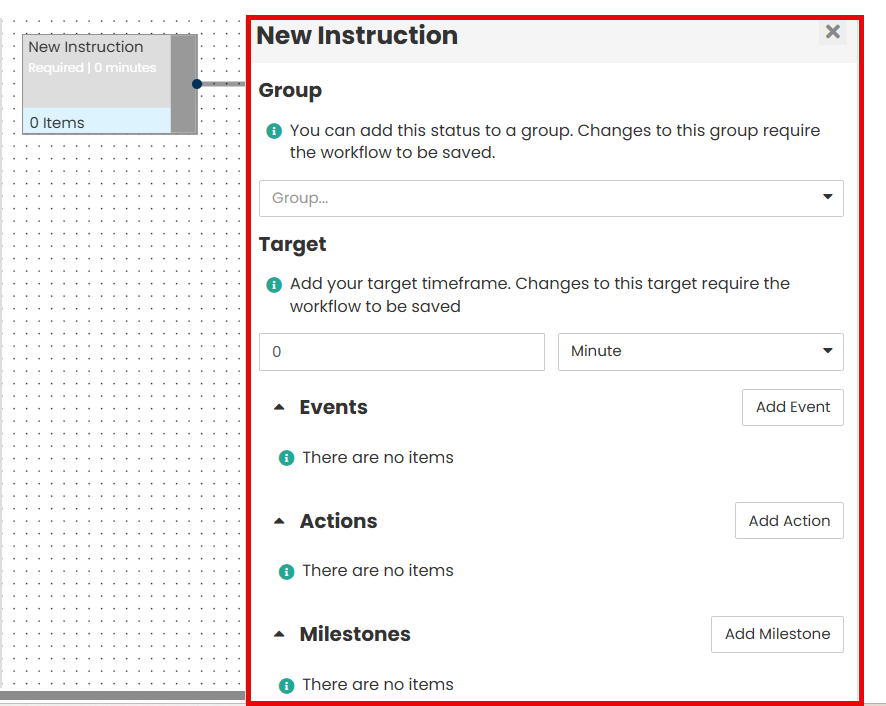
8. Taking milestone as an example, you can add a milestone by clicking 'Create Milestone' - this will bring up the option to select one.
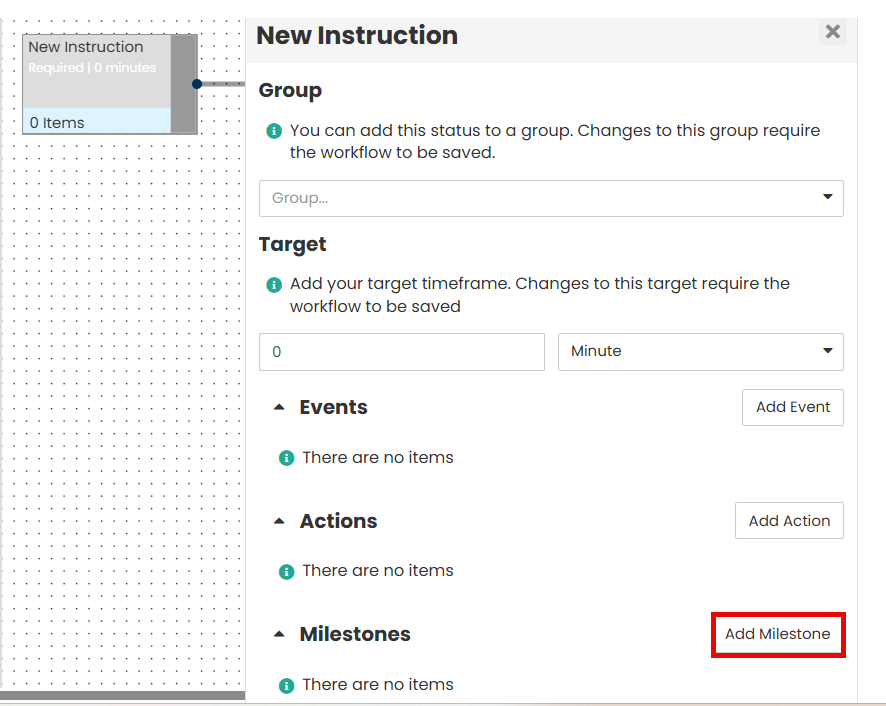
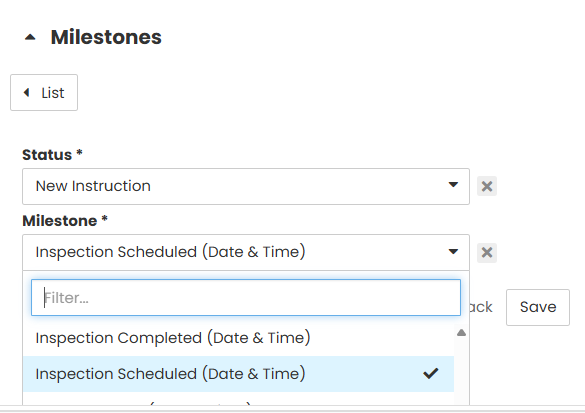

(You will see that the Actions count has increased also.)
9. If your Milestone is not in the dropdown, you can add another by going to Admin, Milestones, the coming back to the Workflow and repeating step 8.

10. So when a job with this workflow goes into the status 'New Claim', the Milestone 'Inspection Scheduled' will be created against the job and visible in the Job Overview section.
Reminders and Events work in the same way.
Was this article helpful?
That’s Great!
Thank you for your feedback
Sorry! We couldn't be helpful
Thank you for your feedback
Feedback sent
We appreciate your effort and will try to fix the article